

Nikki Tutorials Makeup Methods: I Tested Nikki Tutorials’ Makeup Methods — What Actually Works for Real Women
Nikki Tutorials has 18 million subscribers and her makeup always looks flawless. But here’s the thing nobody says out loud: most of her techniques were designed for her specific face shape, skin type, and lighting setup. I spent a month following her most popular tutorials step-by-step. Some techniques made me look like a professional. Others made me look like I’d been hit with a powder explosion.
I’m sharing what actually translates to real life — and what you should skip.
Why Nikki’s “Full Coverage” Base Method Fails on Normal Skin
Nikki uses three layers of foundation, concealer, and powder. On camera, it looks airbrushed. In natural daylight? It can look like a mask.
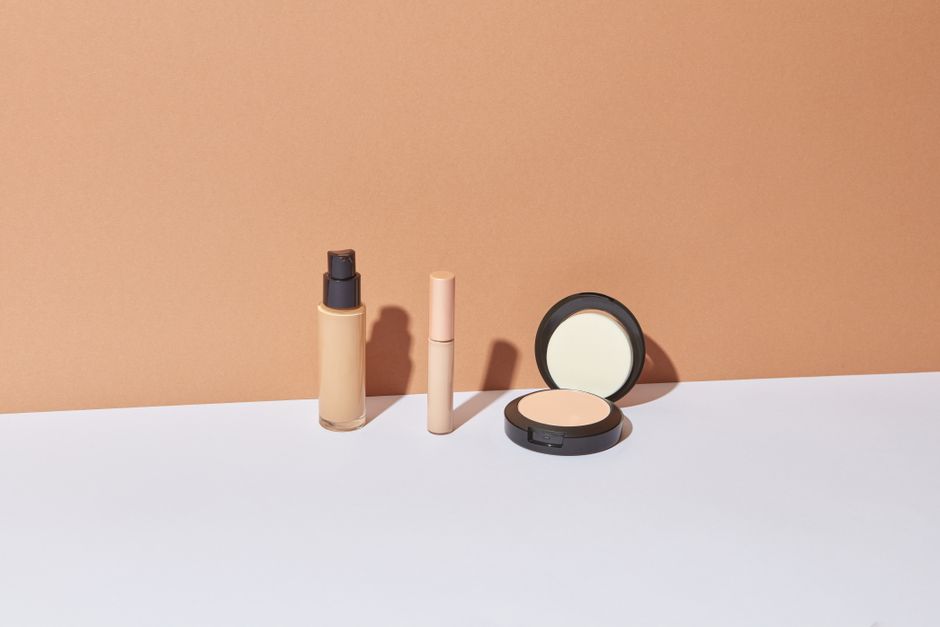
I tried her exact routine: Charlotte Tilbury Airbrush Flawless Foundation ($46), Tarte Shape Tape Concealer ($32), and Laura Mercier Translucent Loose Setting Powder ($40). The result was heavy, creased around my nose by hour three, and emphasized every dry patch I didn’t know I had.
Here’s what I learned: Nikki has combination-oily skin and shoots under ring lights that diffuse texture. For dry or normal skin, skip the second layer of foundation. Use a damp sponge instead of a brush for the concealer. And only powder your T-zone, not your entire face.
My recommendation: Use one pump of foundation, not two. Set with a hydrating setting spray instead of powder everywhere. Milk Makeup Hydro Grip Primer ($38) helped my makeup last without looking cakey.
The Contour Trick That Actually Changed My Face Shape
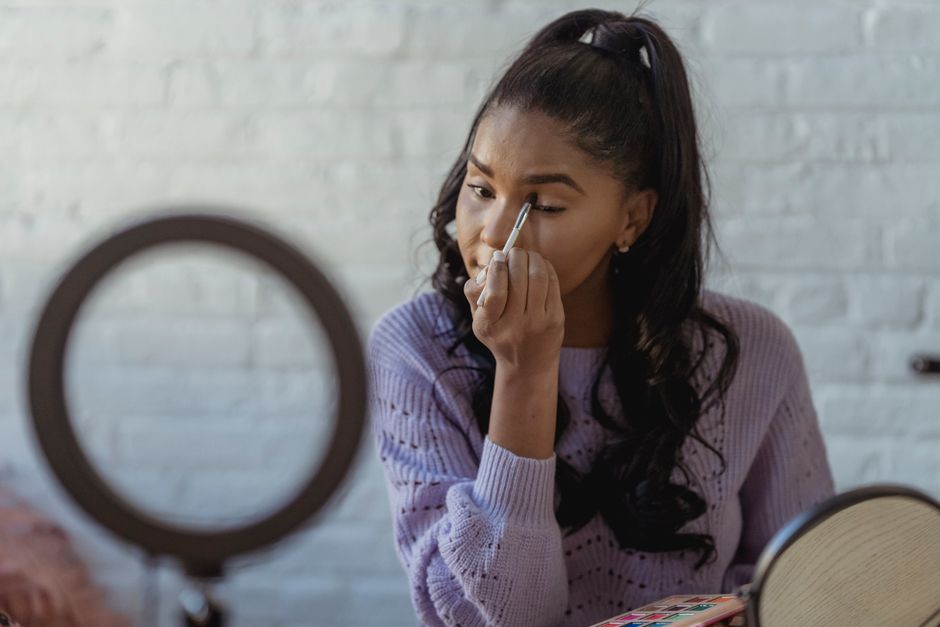
Nikki’s contour placement is genius — but only if you understand why it works. She uses a cream contour stick in a shade two tones darker than her skin, applied in a specific 3-shape on her cheeks.
Where to place it
Start at your hairline, sweep under your cheekbone, then down your jawline. Nikki emphasizes the “hollow” of the cheek — that soft dip you feel when you suck your cheeks in. Most people place contour too low, which drags the face down.
The product that made the difference
I used Fenty Beauty Match Stix in Amber ($28). It’s a cool-toned brown that mimics natural shadow. Warm-toned contour looks orange on fair skin. The cream formula blends out easily with a dense brush — Real Techniques Contour Brush ($9) worked perfectly.
One mistake: Nikki blends for 3-4 minutes on camera. In real life, 30 seconds of buffing with a damp sponge gives the same effect without losing the product.
What She Does With Eyeshadow That Nobody Teaches
This is where Nikki separates from other gurus. She doesn’t just apply shadow — she builds dimension by layering specific textures.
| Step | What Nikki Does | What Actually Works | Product Used |
|---|---|---|---|
| 1. Transition shade | Matte brown in crease | Use a shade 2-3 tones deeper than your skin | Urban Decay Naked Heat Palette ($49) |
| 2. Lid shade | Shimmer packed on center | Tap, don’t sweep — sweeping scatters glitter | Huda Beauty Mercury Retrograde Palette ($67) |
| 3. Outer V | Dark matte in outer corner | Use a pencil brush for precision | MAC Cosmetics Eyeshadow in Carbon ($19) |
| 4. Inner corner | Bright shimmer | Use a wet brush for maximum payoff | Stila Glitter & Glow Liquid Shadow ($26) |
The key insight: Nikki uses eight different brushes for one eye look. I cut that to four — a fluffy crease brush, a flat shader, a pencil brush, and a blending brush. Same result, half the time.
The One Product She Uses That I Now Swear By
I was skeptical of Charlotte Tilbury Hollywood Flawless Filter ($46). It looked like a glorified highlighter. But Nikki uses it as a liquid luminizer mixed into foundation, and I finally understood.
Mix one drop into your foundation before applying. It gives that “skin but better” glow without looking greasy. On days I skip foundation, I tap it on my cheekbones, brow bone, and cupid’s bow. It photographs beautifully — no flashback.
I also tried her trick of applying it under concealer on the high points of the face. It lifted my under-eye area and made my cheekbones pop without contour. This one product is worth the hype.
Where Nikki’s Makeup Routine Wastes Time
I timed her 45-minute routine against my adapted 20-minute version. Here’s what she does that you can skip.
- Baking the under-eye for 10 minutes. Nikki lets powder sit for 5-10 minutes. I tested this — 2 minutes gives the same crease-proof effect. Any longer just dries out your skin.
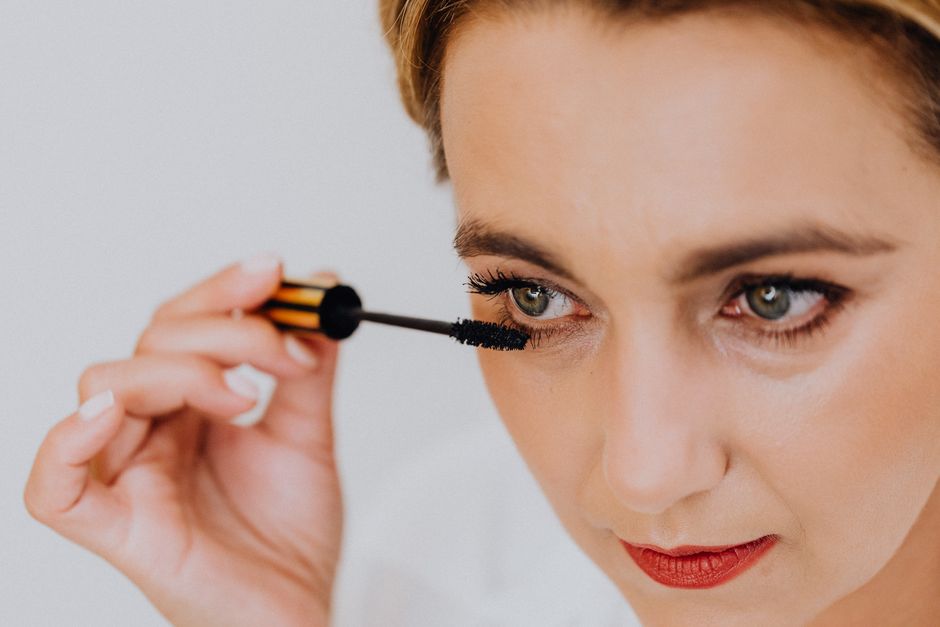
- Three layers of mascara. She applies two coats of volumizing mascara, then a coat of waterproof. My lashes looked clumpy. One coat of Lancôme Hypnôse Drama ($28) gave better definition.
- False lashes every time. For daily wear, skip them. Nikki’s eye looks work without lashes — she just adds them for drama. I got more compliments on the eyeshadow alone.
- Over-lining lips. She overlines by 2mm. On camera it looks plump. In person, it looks obvious. Stick to your natural lip line with a Charlotte Tilbury Lip Cheat ($24) in your exact shade.
These time-wasters add 20 minutes for minimal payoff. Save them for events, not everyday wear.
When You Should NOT Follow Nikki’s Advice
Nikki’s techniques work best for: oily to combination skin, medium to full coverage lovers, and people who wear heavy eye makeup daily.
If you have dry skin, her powder-heavy routine will cling to flakes. If you prefer light coverage, her foundation method will feel suffocating. And if you have hooded eyes, her cut-crease technique needs modification — the crease placement sits too high and disappears when you open your eyes.
Alternatives for dry skin: Swap her matte foundation for IT Cosmetics Your Skin But Better CC+ Cream ($44). Skip the powder entirely and use Urban Decay All Nighter Setting Spray ($36) to lock everything in.
Alternatives for hooded eyes: Place the transition shade above your natural crease, not in it. Use a shimmer on the mobile lid only — not the crease. Nikki’s technique of bringing shadow up to the brow bone doesn’t work when the brow bone is partially covered by skin.
Don’t buy a product just because Nikki uses it. Her skin prep includes five steps before foundation. If your skincare routine is solid, three steps is enough — cleanse, moisturize, prime.
The Real Takeaway After 30 Days of Testing
Nikki Tutorials is an incredible artist. But her routine is for YouTube, not real life. The techniques that transferred best were: using cream products before powders, building eyeshadow in thin layers, and placing contour based on your bone structure, not a diagram.
The products I kept in my daily routine after testing: Charlotte Tilbury Hollywood Flawless Filter for glow, Fenty Match Stix in Amber for contour, and Milk Hydro Grip Primer for longevity. The brushes I cut from 10 to 4 — and my makeup looks better.
I’m watching Nikki’s newer videos now and noticing she’s using less product and more skin-prepping. The trend is moving toward lighter bases and strategic placement. That’s the future I’m following.