
Korean Nail Art Ideas That Don’t Require a Salon Visit
Scroll through Seoul nail content for ten minutes and one pattern becomes undeniable: the most influential Korean nail looks are not the most complex ones. No chunky rhinestones stacked three layers thick, no competing airbrushed gradients. The aesthetic that keeps circulating globally is quiet, precise, and genuinely achievable at home — once you understand what you’re actually trying to recreate and why certain techniques matter more than design complexity.
What Korean Nail Art Actually Looks Like (And What It Doesn’t)
Korean nail art sits at the intersection of restraint and detail. Where Western nail trends often go bold — graphic nails, chunky 3D press-ons, maximalist chrome — Korean nail culture leans toward softness, transparency, and negative space.
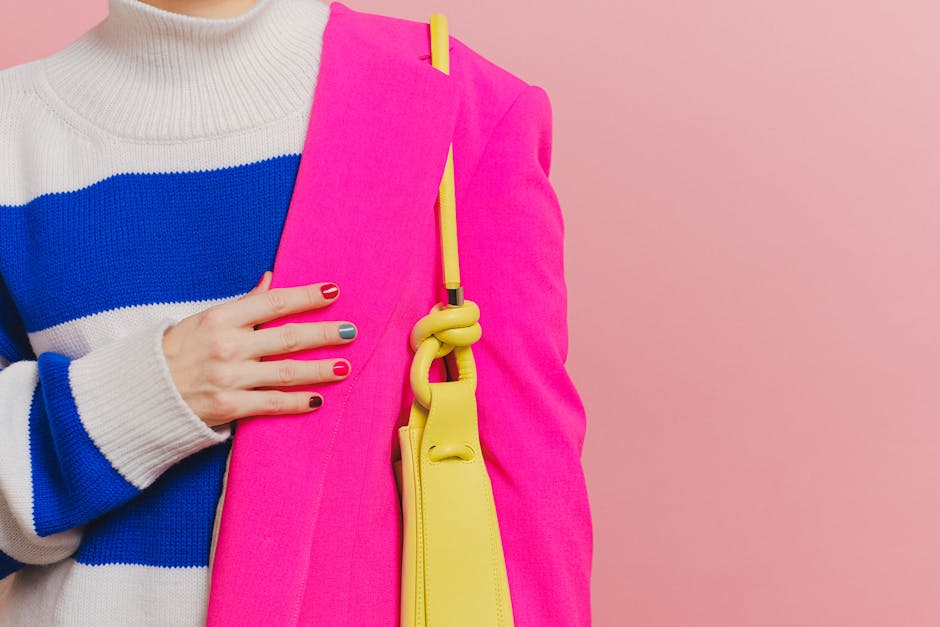
The colors make this obvious. Milky whites, sheer pinks, barely-there nudes, warm beiges. Sometimes something unexpected — a single gold foil accent, a delicate hand-painted cherry blossom — but always anchored by restraint. The nail plate itself is part of the design, which is why so many Korean styles use transparent or translucent bases rather than solid opaque color.
The four characteristics that define it
First: muted base colors. Neons almost never appear in trending Korean nail content. Second: finish and texture variety — aurora, glass, holographic, metallic foil. The base is quiet; the finish carries the interest. Third: intentional asymmetry. A single accent nail with a different color or finish is a deliberate design choice, not an oversight. Fourth: clean cuticle lines. This single factor separates a professional-looking Korean nail from a home attempt more than any other detail.
Styles defining the current moment
Aurora nails — a pearlescent, color-shifting finish that reads differently at every angle — have been circulating since 2026 and remain dominant. Glass nails (high-shine, near-translucent jelly finish) are closely related but without the color shift. Milk nails are the most accessible trend: creamy, slightly opaque white-pink that looks exactly like diluted milk on the nail plate. Tortoiseshell nails are the only bold pattern that genuinely fits this aesthetic, because warm amber and brown tones keep the look grounded rather than aggressive.
Unistella — the Seoul-based nail artist who shaped the glass nail and aurora nail movements into global trends — is worth studying specifically because her portfolio shows the full range. From single-color minimalism to intricate hand-painted botanicals, everything stays within the same restrained visual language. Her work is the clearest reference point for understanding what Korean nail art actually means versus what it has been loosely applied to.
Where the aesthetic ends
Not every pastel nail is Korean nail art. Not every minimalist nail is Korean nail art. The distinction lies in the intentional use of negative space, the transparency of the base, and specific finish choices. A solid lavender nail with clean edges is a nice nail. A sheer lavender jelly nail with a glass top coat and one foil accent nail is Korean nail art.
Nail shape matters too. Most viral Korean looks are done on almond or oval nails. Hard square nails shift the energy of these styles in a distinct direction — not necessarily worse, but different enough to change the read entirely.
7 Korean Nail Styles Ranked by Difficulty at Home
From easiest to hardest, with honest assessments of what each style actually requires:
- Milk nails. The starting point. Two coats of a creamy white-pink polish and a glossy top coat. OPI’s My Vampire is Buff is a close Western equivalent — a soft, warm nude that reads almost white in certain lighting. Innisfree Real Color Nail in shade No. 51 is the more direct Korean reference. This style exposes every flaw in technique, which makes it the best possible practice ground for building clean-edge skills.
- Jelly/glass nails. One level up in complexity. You need a sheer, high-pigment jelly-formula polish — Etude House Play Nail Color has multiple jelly options in the coral, pink, and red shades that Korean nail bars favor — plus a glass-finish top coat. The critical technique is thin layers: three thin coats consistently deliver better results than two thick ones.
- Negative space geometric. The design is simple — clean lines, open space. The difficulty is in execution: nail striping tape applied to create borders, painted over, then peeled while the polish is still slightly tacky. Peel too early and the edge bleeds. Wait too long and the tape pulls up cured polish. The timing window is narrower than it sounds.
- Aurora nails. Requires an aurora or duochrome powder buffed over a black or white base using a silicone applicator. Born Pretty’s Aurora Powder Set (around $12 for multiple shades) is a solid entry point. The challenge is evenness — getting a consistent gradient across all ten nails takes several complete practice sets before it looks polished rather than patchy.
- Tortoiseshell nails. Four colors — amber, burnt brown, gold, and black — layered in organic, overlapping patches over a nude base using a fine brush. Color choice matters less than technique here. Watch nail-specific tutorials; general painting instruction misses the particular light touch this style requires.
- Hand-painted cherry blossom. Fine detail brush, pale pink, white, and dark brown for branches. The Makartt 15-piece nail art brush set (around $15) covers the technical tool requirement. Execution is genuinely difficult — plan for the first two or three attempts to look rough while you calibrate scale and brush pressure.
- 3D sculptural floral. Gel, a UV lamp, and builder gel technique. The Beetles Gel Nail Kit with 86W UV lamp (approximately $45 for the starter set) is the minimum realistic home investment. This is professional territory regardless of prep time — do not make it your first or second Korean nail project.
One principle applies across all seven: nail prep determines quality more than design complexity. Buffed, dehydrated nail plates hold polish better and give cleaner color payoff. Skipping this phase is the single fastest way to make any design look unfinished.
Also: thin coats over thick ones, always. The smooth, even surface that characterizes Korean nail aesthetics requires patient layering — not speed.
The Tools That Actually Matter (And What You Can Skip)
Three categories account for most of the difference between a sharp Korean nail look and a blurry approximation: your top coat, your precision tools, and your lamp if you’re working with gel. Here’s what matters, what it costs, and when it’s simply not necessary to buy it.
Side-by-side tool breakdown
| Tool | Purpose | Recommended Option | Price | Skip If |
|---|---|---|---|---|
| Glass finish top coat | High-shine jelly look on regular polish | Seche Vite Dry Fast Top Coat | $8–$12 | Using a gel system |
| Aurora powder | Color-shifting shimmer for aurora nails | Born Pretty Aurora Powder Set | $10–$15 | Not attempting aurora styles |
| Detail brush set | Botanicals, fine lines, dot work | Makartt 15-piece nail art brush set | $12–$20 | Only doing jelly or milk nail styles |
| Nail striping tape | Clean geometric edges and negative space | Born Pretty 1mm gold/silver tape set | $5–$8 | Not doing geometric work |
| UV/LED gel lamp | Curing gel polish and builder gel | Beetles 86W UV/LED nail lamp | $30–$50 | Using regular polish only |
| Nail dehydrator + primer | Prevents lifting, extends wear time | Modelones nail prep duo | $8–$12 | One-day temporary manicure only |
The two tools most tutorials skip
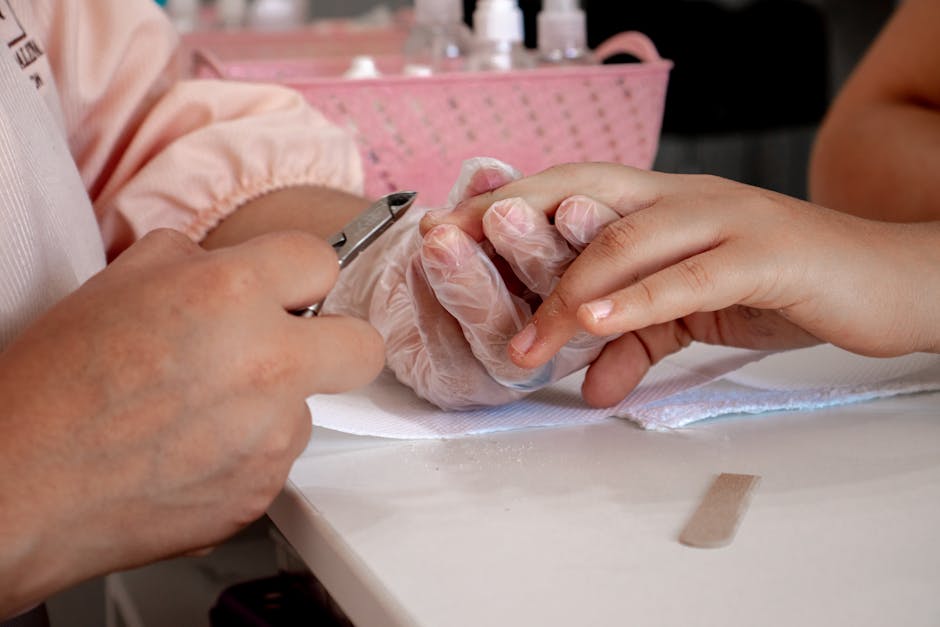
First: nail dehydrator. Under $10, applied in thirty seconds, it adds several days to wear time by removing surface oils that prevent adhesion. Most home nail tutorials skip it entirely. Most professional nail technicians apply it without mentioning it. That gap is a large part of why home manicures chip at day three and salon results survive to day eight.
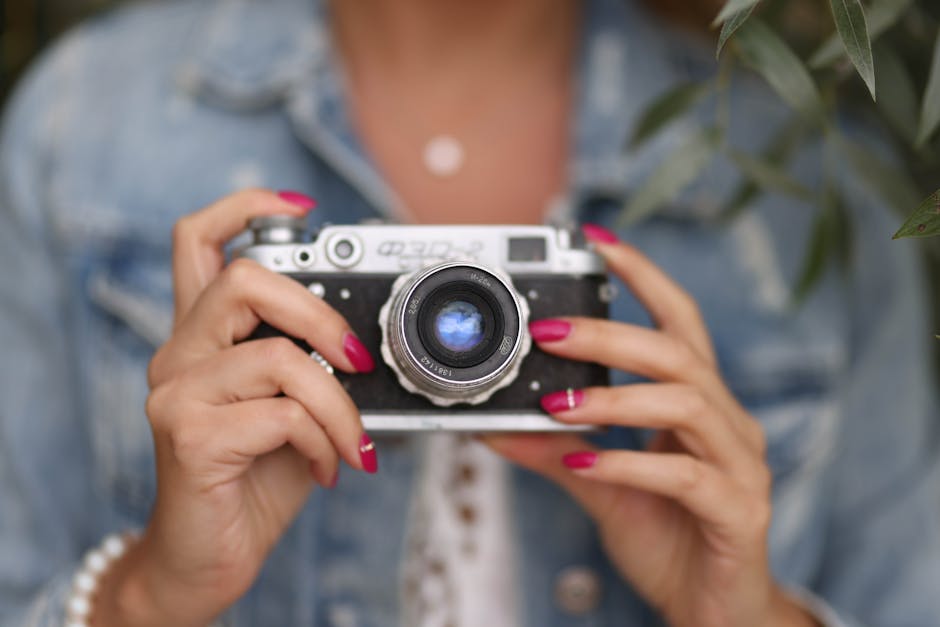
Second: a cleanup brush. A small flat brush loaded with acetone, used immediately after painting each nail, removes any polish that touched surrounding skin or cuticle. This single step does more for the polished appearance of Korean nail art than most design techniques combined. The nail reads as deliberate and clean before you have even reached for the top coat.
Why Korean Nail Art Looks Off — And How to Fix It
These are the specific questions that come up when a Korean nail look doesn’t land — and what’s actually causing each problem.
Why do my cuticle lines always look messy?
Most people finish all ten nails and then try to clean edges at the end. The fix is to do it during: a fine brush loaded with acetone, applied to the cuticle area immediately after each nail is painted while the polish is still slightly flexible. Waiting until everything dries makes clean edges significantly harder to achieve, and the damage from polish on skin is already set by then.
Does nail shape really matter for these styles?
More than most tutorials acknowledge. Almond and oval nails suit milk, glass, and aurora styles because those shapes soften the edge of the nail and match the overall delicacy of the aesthetic. Square nails shift the energy of these looks. That’s not a disqualifier — it’s a design variable worth factoring into which styles you choose to attempt first.
Why does my manicure chip by day three?
Almost always: skipped or abbreviated nail prep. Buffing, dehydrating, and priming the nail plate takes five minutes. Most home manicures skip these steps entirely. When the surface isn’t properly prepared, polish has no grip — it looks fine for a day, then lifts and chips at the first stress point. Fix the prep, and the wear time problem largely resolves itself.
What happens when I add too many design elements?
The look loses coherence. Korean nail art reads as intentional because every element is deliberate — typically one or two accent nails against a restrained base. Adding a design to every nail, or layering multiple competing effects, pushes the result away from the aesthetic entirely. Restraint is a skill here, not just an aesthetic preference.
The Right Starting Point for Korean Nail Art
Milk nails. No qualifications needed.
One polish, a quality top coat, and clean prep. The result is one of the most wearable looks in the Korean nail aesthetic — appropriate across work and weekend contexts, flattering on most skin tones, and more forgiving of nail shape than most other Korean styles. More importantly, it forces you to develop the single skill everything else depends on: patient thin-coat layering and clean cuticle edges.
Do milk nails until the results satisfy you. Then move to jelly or glass nails — same layering technique, slightly more transparency to manage. From there, branch into aurora powder work or negative space geometric depending on which visual direction appeals to you.
The Korean nail culture that Unistella helped shape, and that Innisfree and Etude House built product lines to support, rewards precision over ambition. The looks that circulate from Seoul nail bars are refined technique applied to deceptively restrained designs. The effort lives in prep and finish. The restraint lives in the design itself.
That formula — technical rigor beneath visual minimalism — is becoming the dominant direction for nail aesthetics globally. Learning to execute it now is getting ahead of a wave that’s still building.